|
 |
|
by Peter Aleksa
|
The lolling chair is one of the most distinctive American furniture forms of the Federal period (ca. 1790-1815). Produced throughout the new republic, the form reached its zenith in style and form in the coastal regions of Massachusetts and Southern New Hampshire. Here, examples displayed legs with combinations of turned, reeded, and inlaid elements that led to sinuously curved arms; the upholstered backs of the best chairs exhibited high peaks and a central arch of the crest.
|
|
|
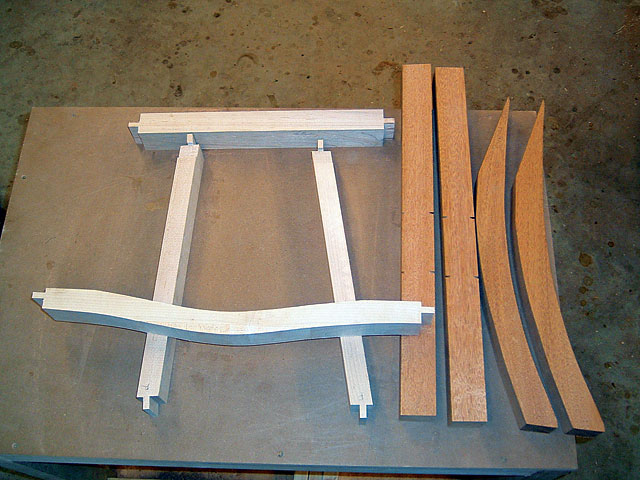
Step 1: The construction of the chair starts with building the lower section consisting of the back legs, rails, and front turned legs; full scale patterns are used to lay out the components. I use the patterns to produce the back legs first. The front legs are then cut to length and ripped (cut along the grain) to the trapezoid shape of the seat.
|
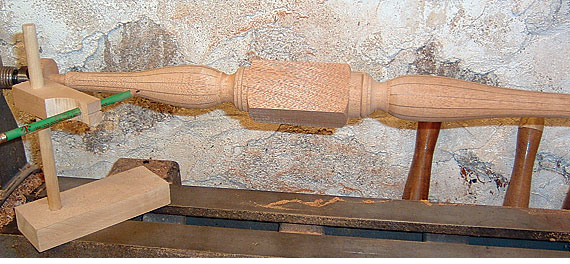 |
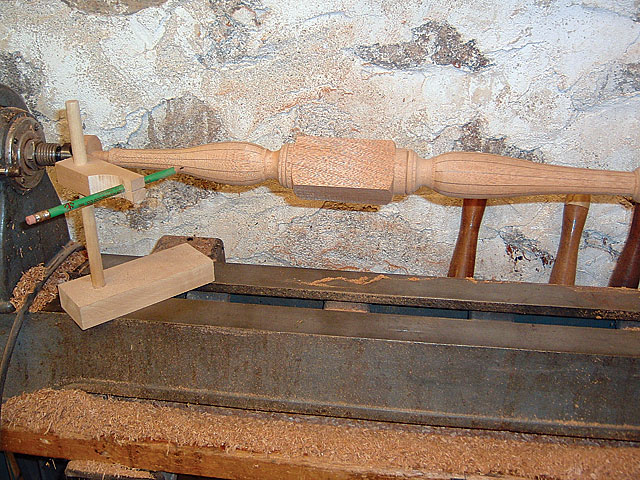
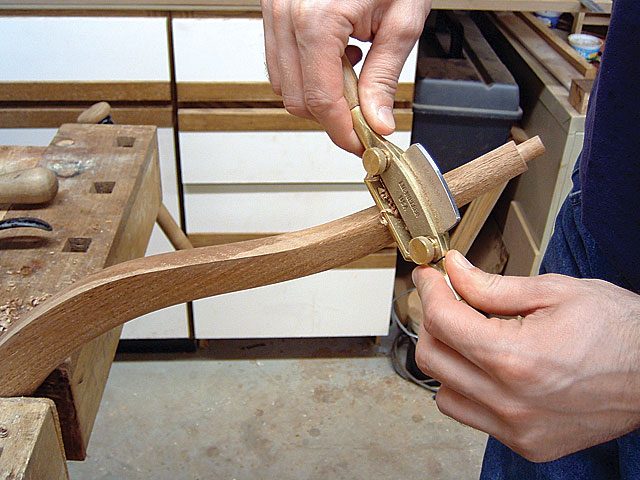
Step 2: The front legs are turned on the lathe. A round tenon is cut on the top of the leg and the reeding and stop fluting is marked out with pencil. The casters are all individually fit to each leg while on the lathe.
|
|
|
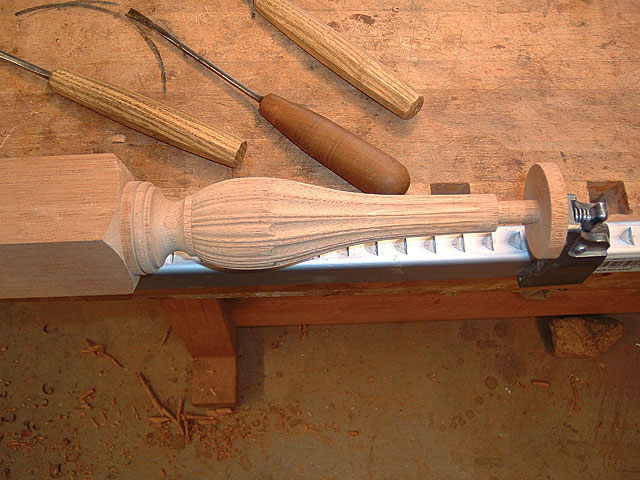
Step 3: On the turned sections of the front legs the reeding and fluting is carved by hand (3a). The rectangular block is inlaid with crotch satinwood veneer surrounded by a holly and ebony line inlay (3b).
|
|
|
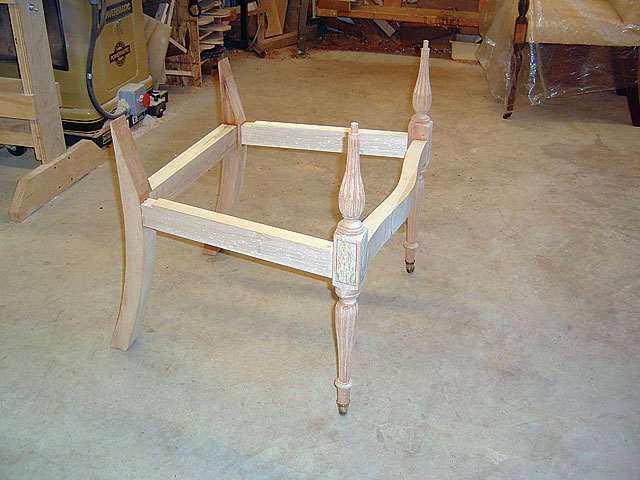
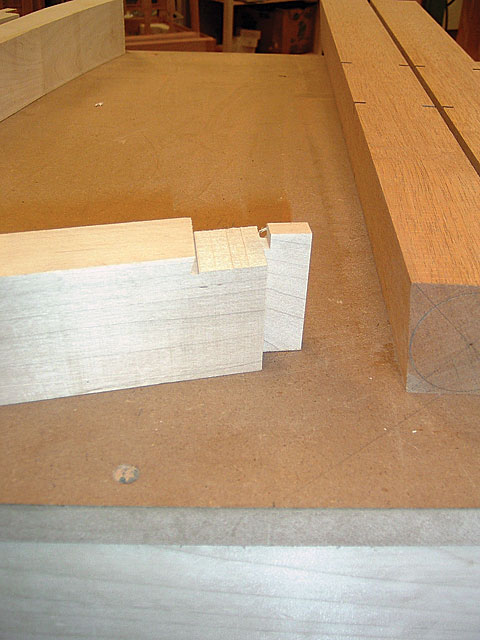
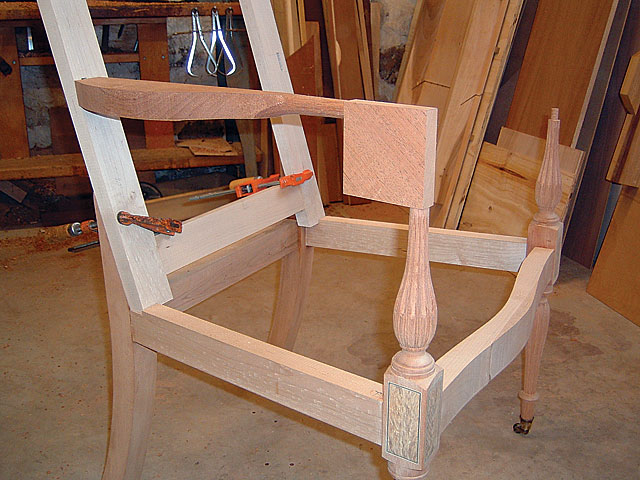
Step 4: The lower base is assembled with mortise and tenon joinery. The side rails are notched on the top face where they meet the back legs. This notch will help to support the back frame.
|
Step 5: The back frame is assembled with mortise and tenon joinery, the serpentine shape crest rail is cut out, and mortises cut for the arm.
|
|
|
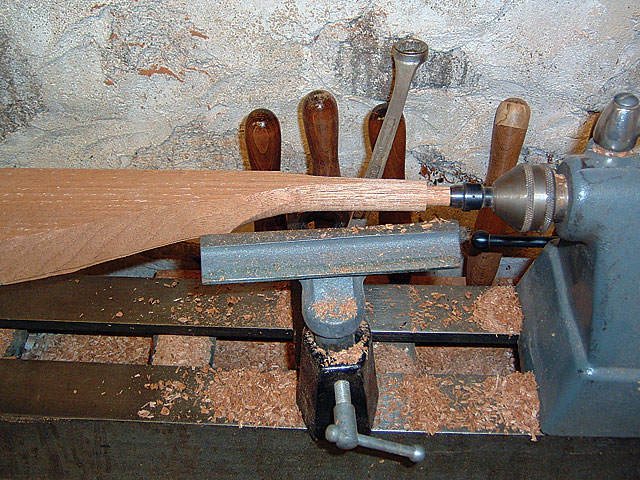
Step 6: The horizontal portion of the arm is turned on the lathe creating a tenon and shaping the front section of the arm (6a). The remaining shaping of the arm is done by hand with a spokeshave and rasps (6b). A rectangular tenon is cut into the rear surface of the arm to fit into the frame of the back.
|
|
|
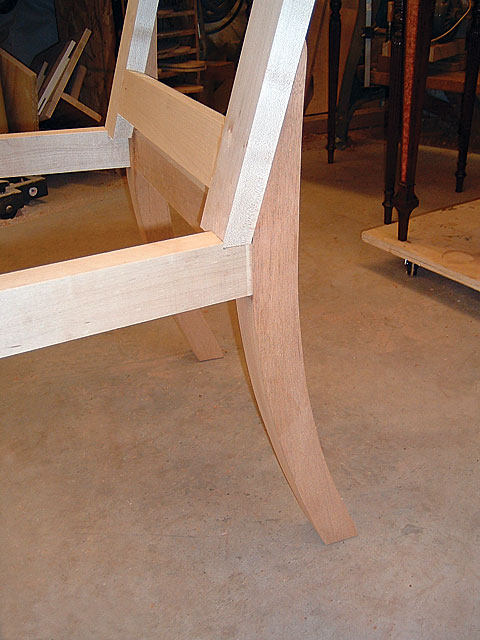
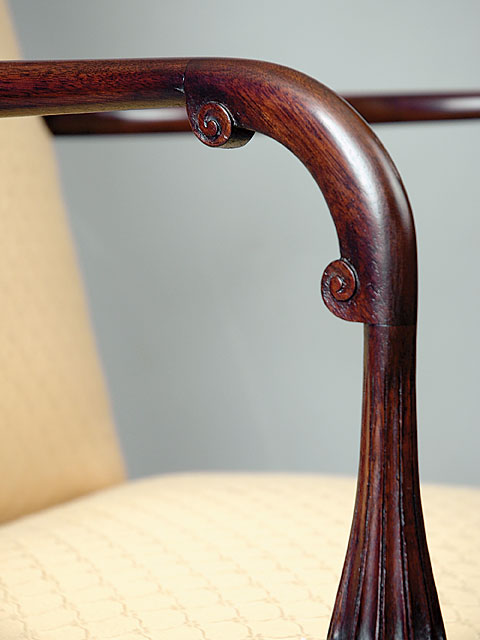
Step 7: The curved arm transition is cut from a solid piece of wood with the grain oriented at a diagonal to allow for the most strength (7a). Round mortises are cut to accept the tenon on the front leg and a round tenon on the horizontal arm. The volutes are carved by hand (7b).
|
|
|
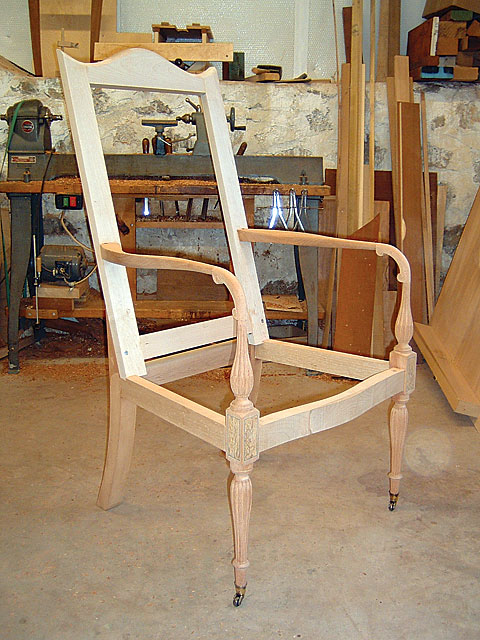
Step 8: The back frame is screwed and glued to the base and the horizontal arms with the curved transitions are glued in place.
Step 9: The completed chairs are finished with shellac and then upholstered.
|
|
 |
Peter Aleksa is a cabinetmaker specializing in period and custom furniture and antique repair and restoration. Based in Canton, Ct., he is owner of Cherry Brook Woodworks (www.cherrybrookwoodworks.com).
|
|
|
|
 Download the Complete Article in PDF Format Download the Complete Article in PDF Format Get Adobe Acrobat Reader Get Adobe Acrobat Reader
|
|
|
 |
|